Getting Started with Yeti — LinkedIn AI Agent
Yeti is your dedicated LinkedIn ghostwriter. It learns your voice, writes posts, generates images, and publishes or schedules content — all from a single chat screen. This guide walks you through the interface and your first persona setup.
The Yeti interface at a glance
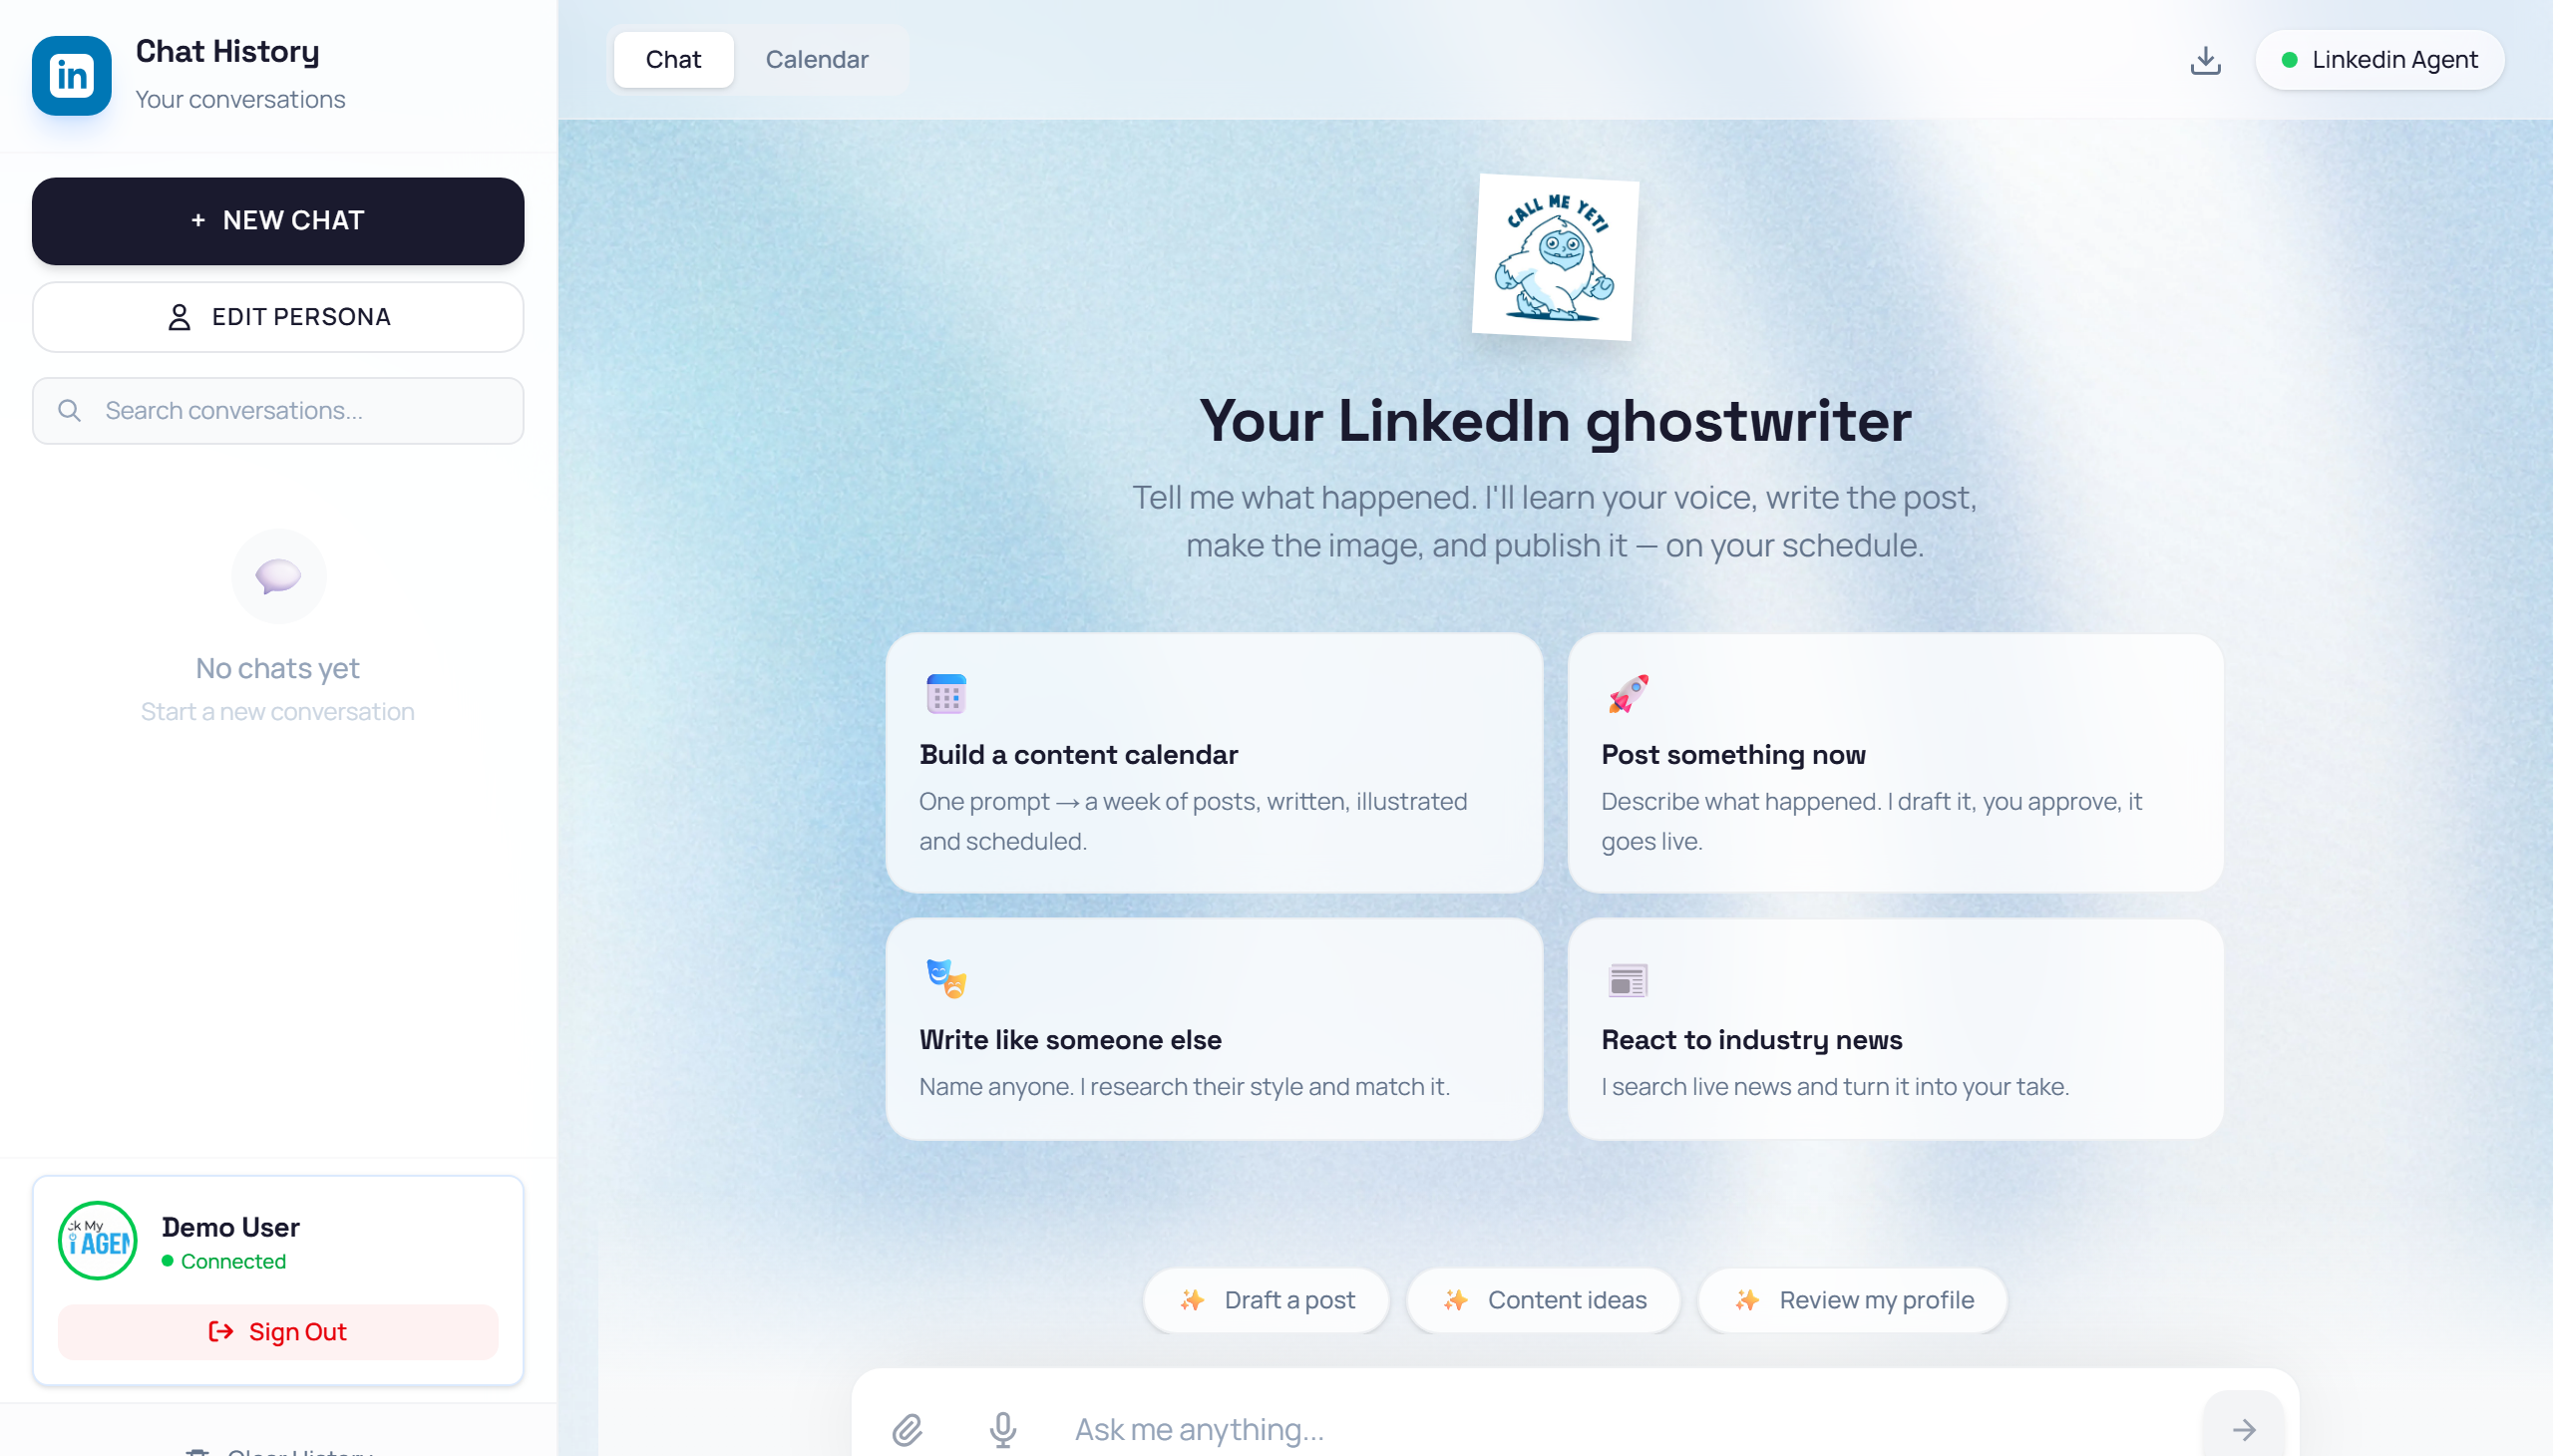
Navigate to /linkedin_agent (or click Open agent on your LinkedIn Agent card in the Dashboard). The screen is split into two main areas:
- Left sidebar (Chat History) — lists your conversations, plus buttons for + New Chat and Edit Persona, a search bar, and your LinkedIn connection status at the bottom.
- Main area — a tab switcher at the top toggles between Chat and Calendar views. The chat area holds the conversation and a fixed input bar at the bottom.
Launch the Yeti Agent
👉 From your Dashboard, find the LinkedIn Agent card under "Your Agents" and click the "Open agent" link. Alternatively, click My Agents in the top nav and press the "Launch" button on the LinkedIn Agent card.
Open Edit Persona
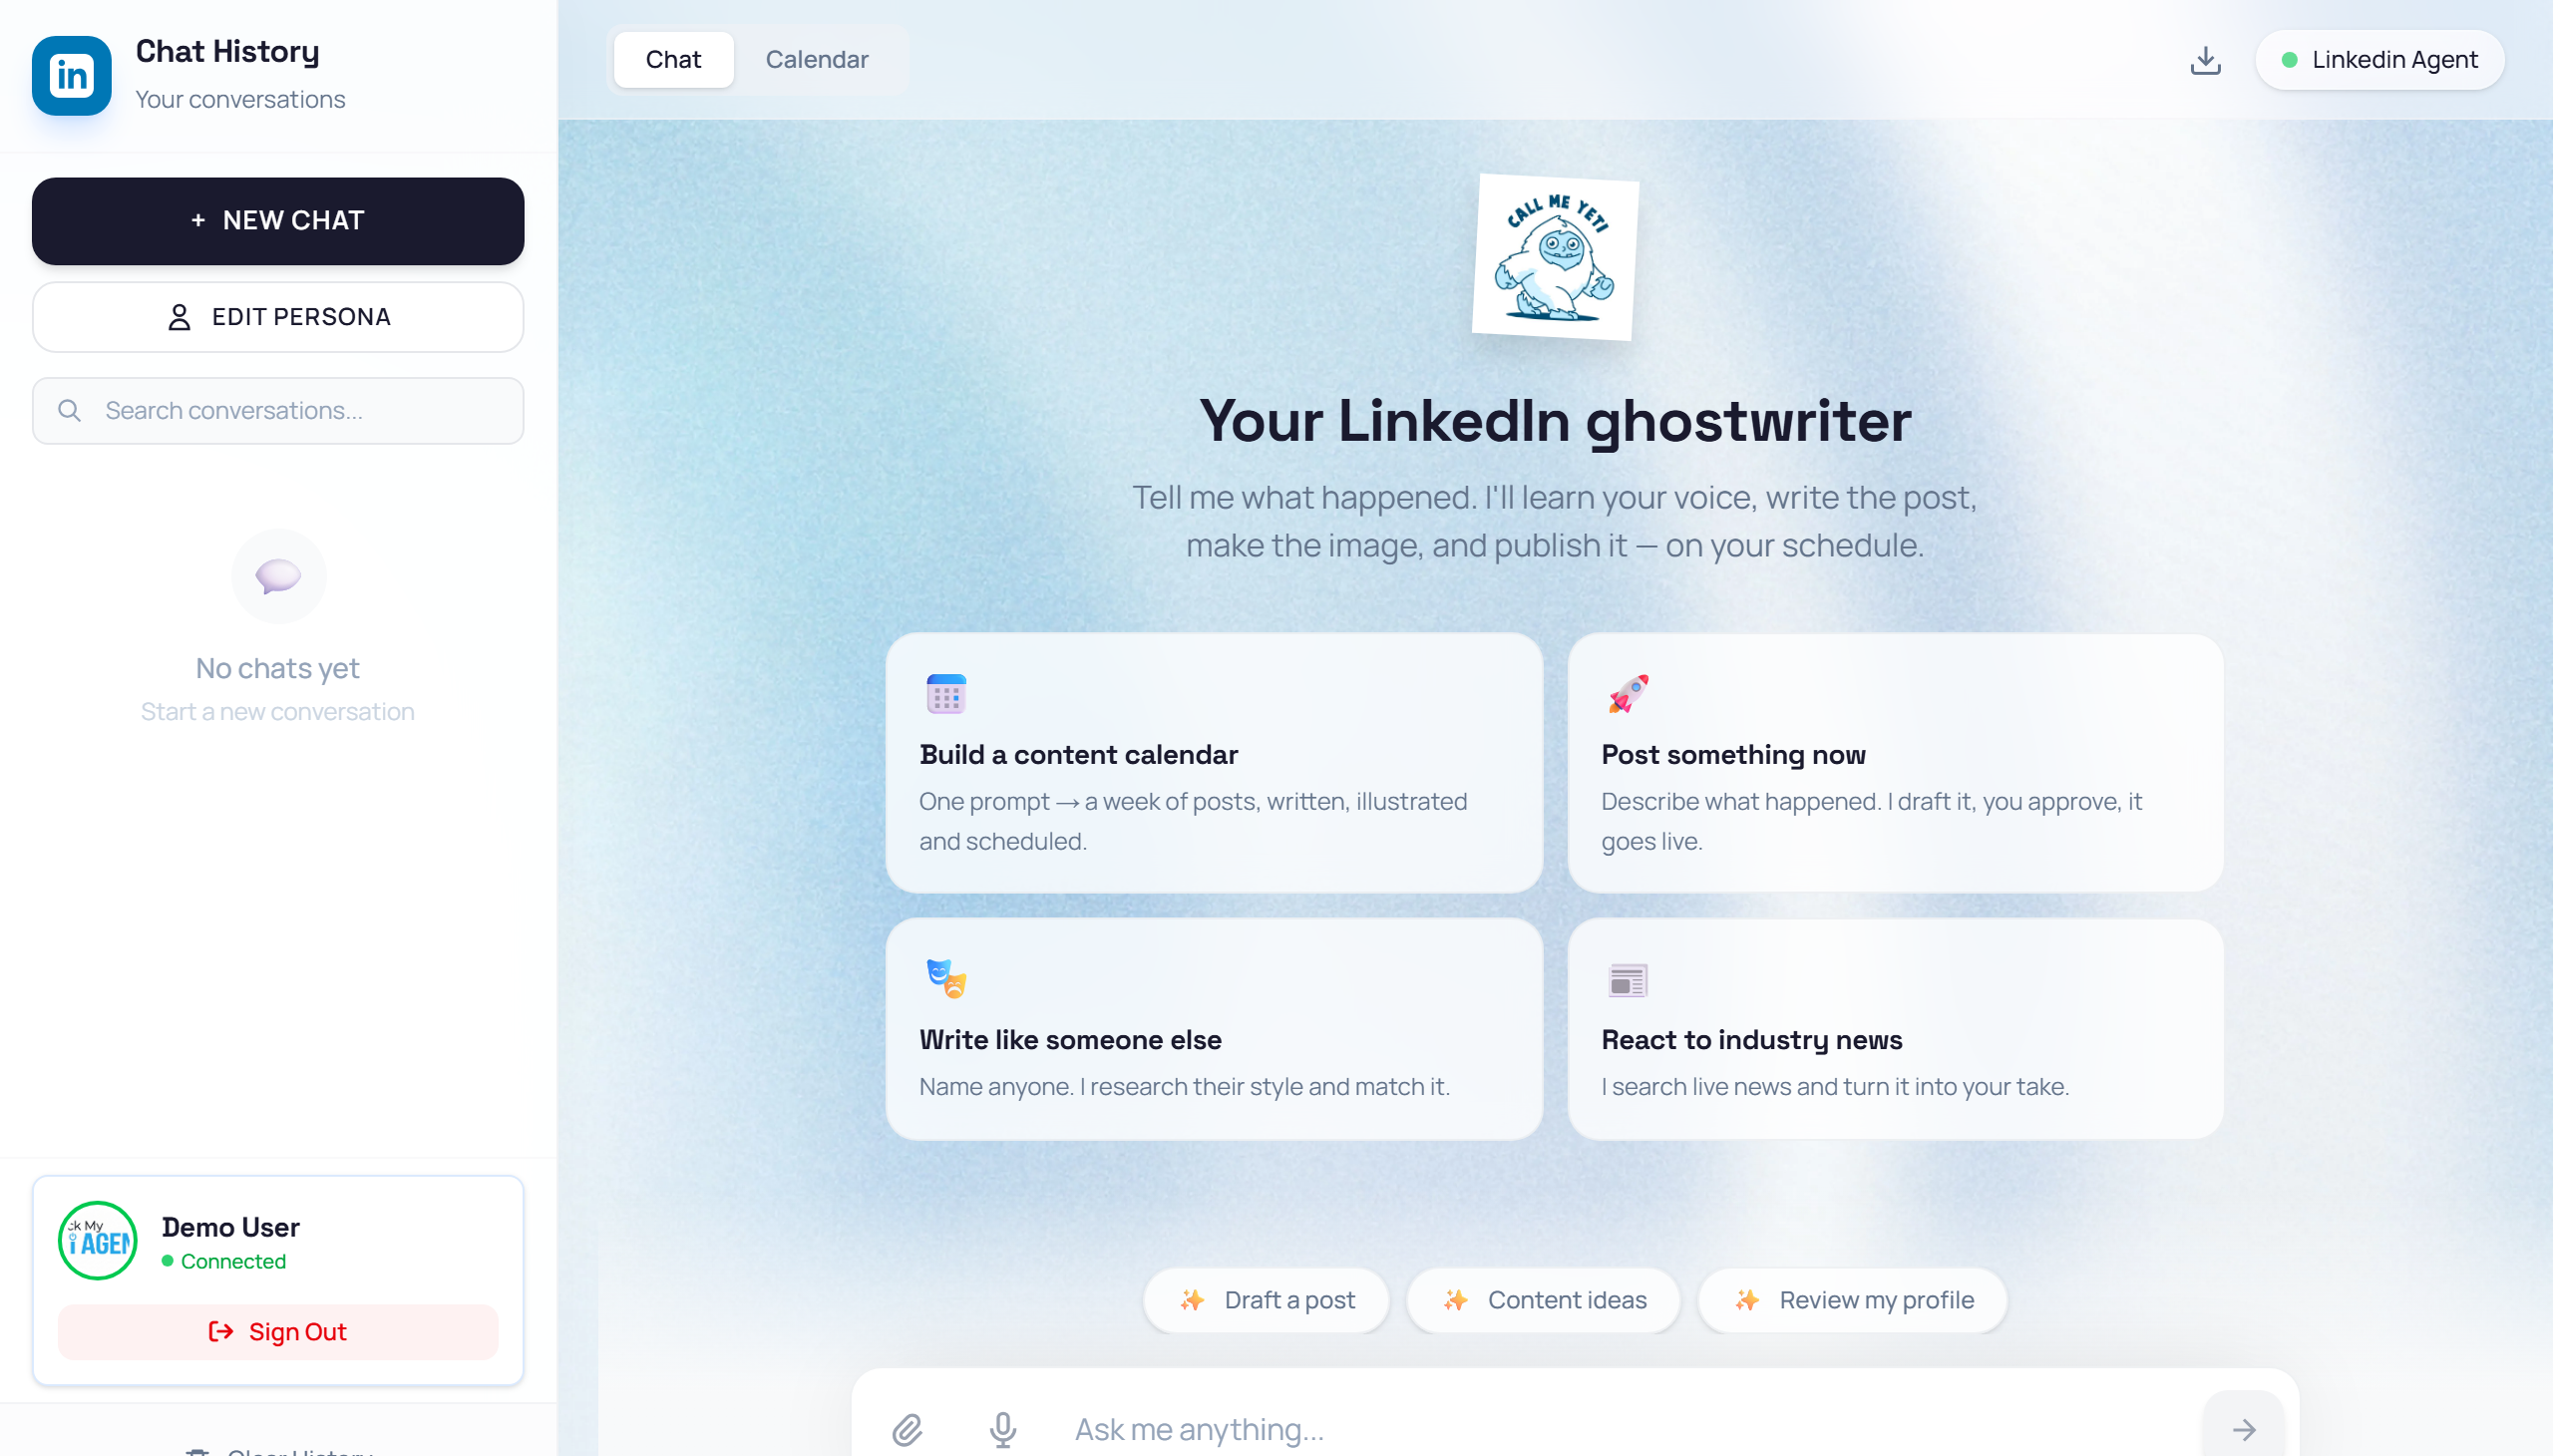
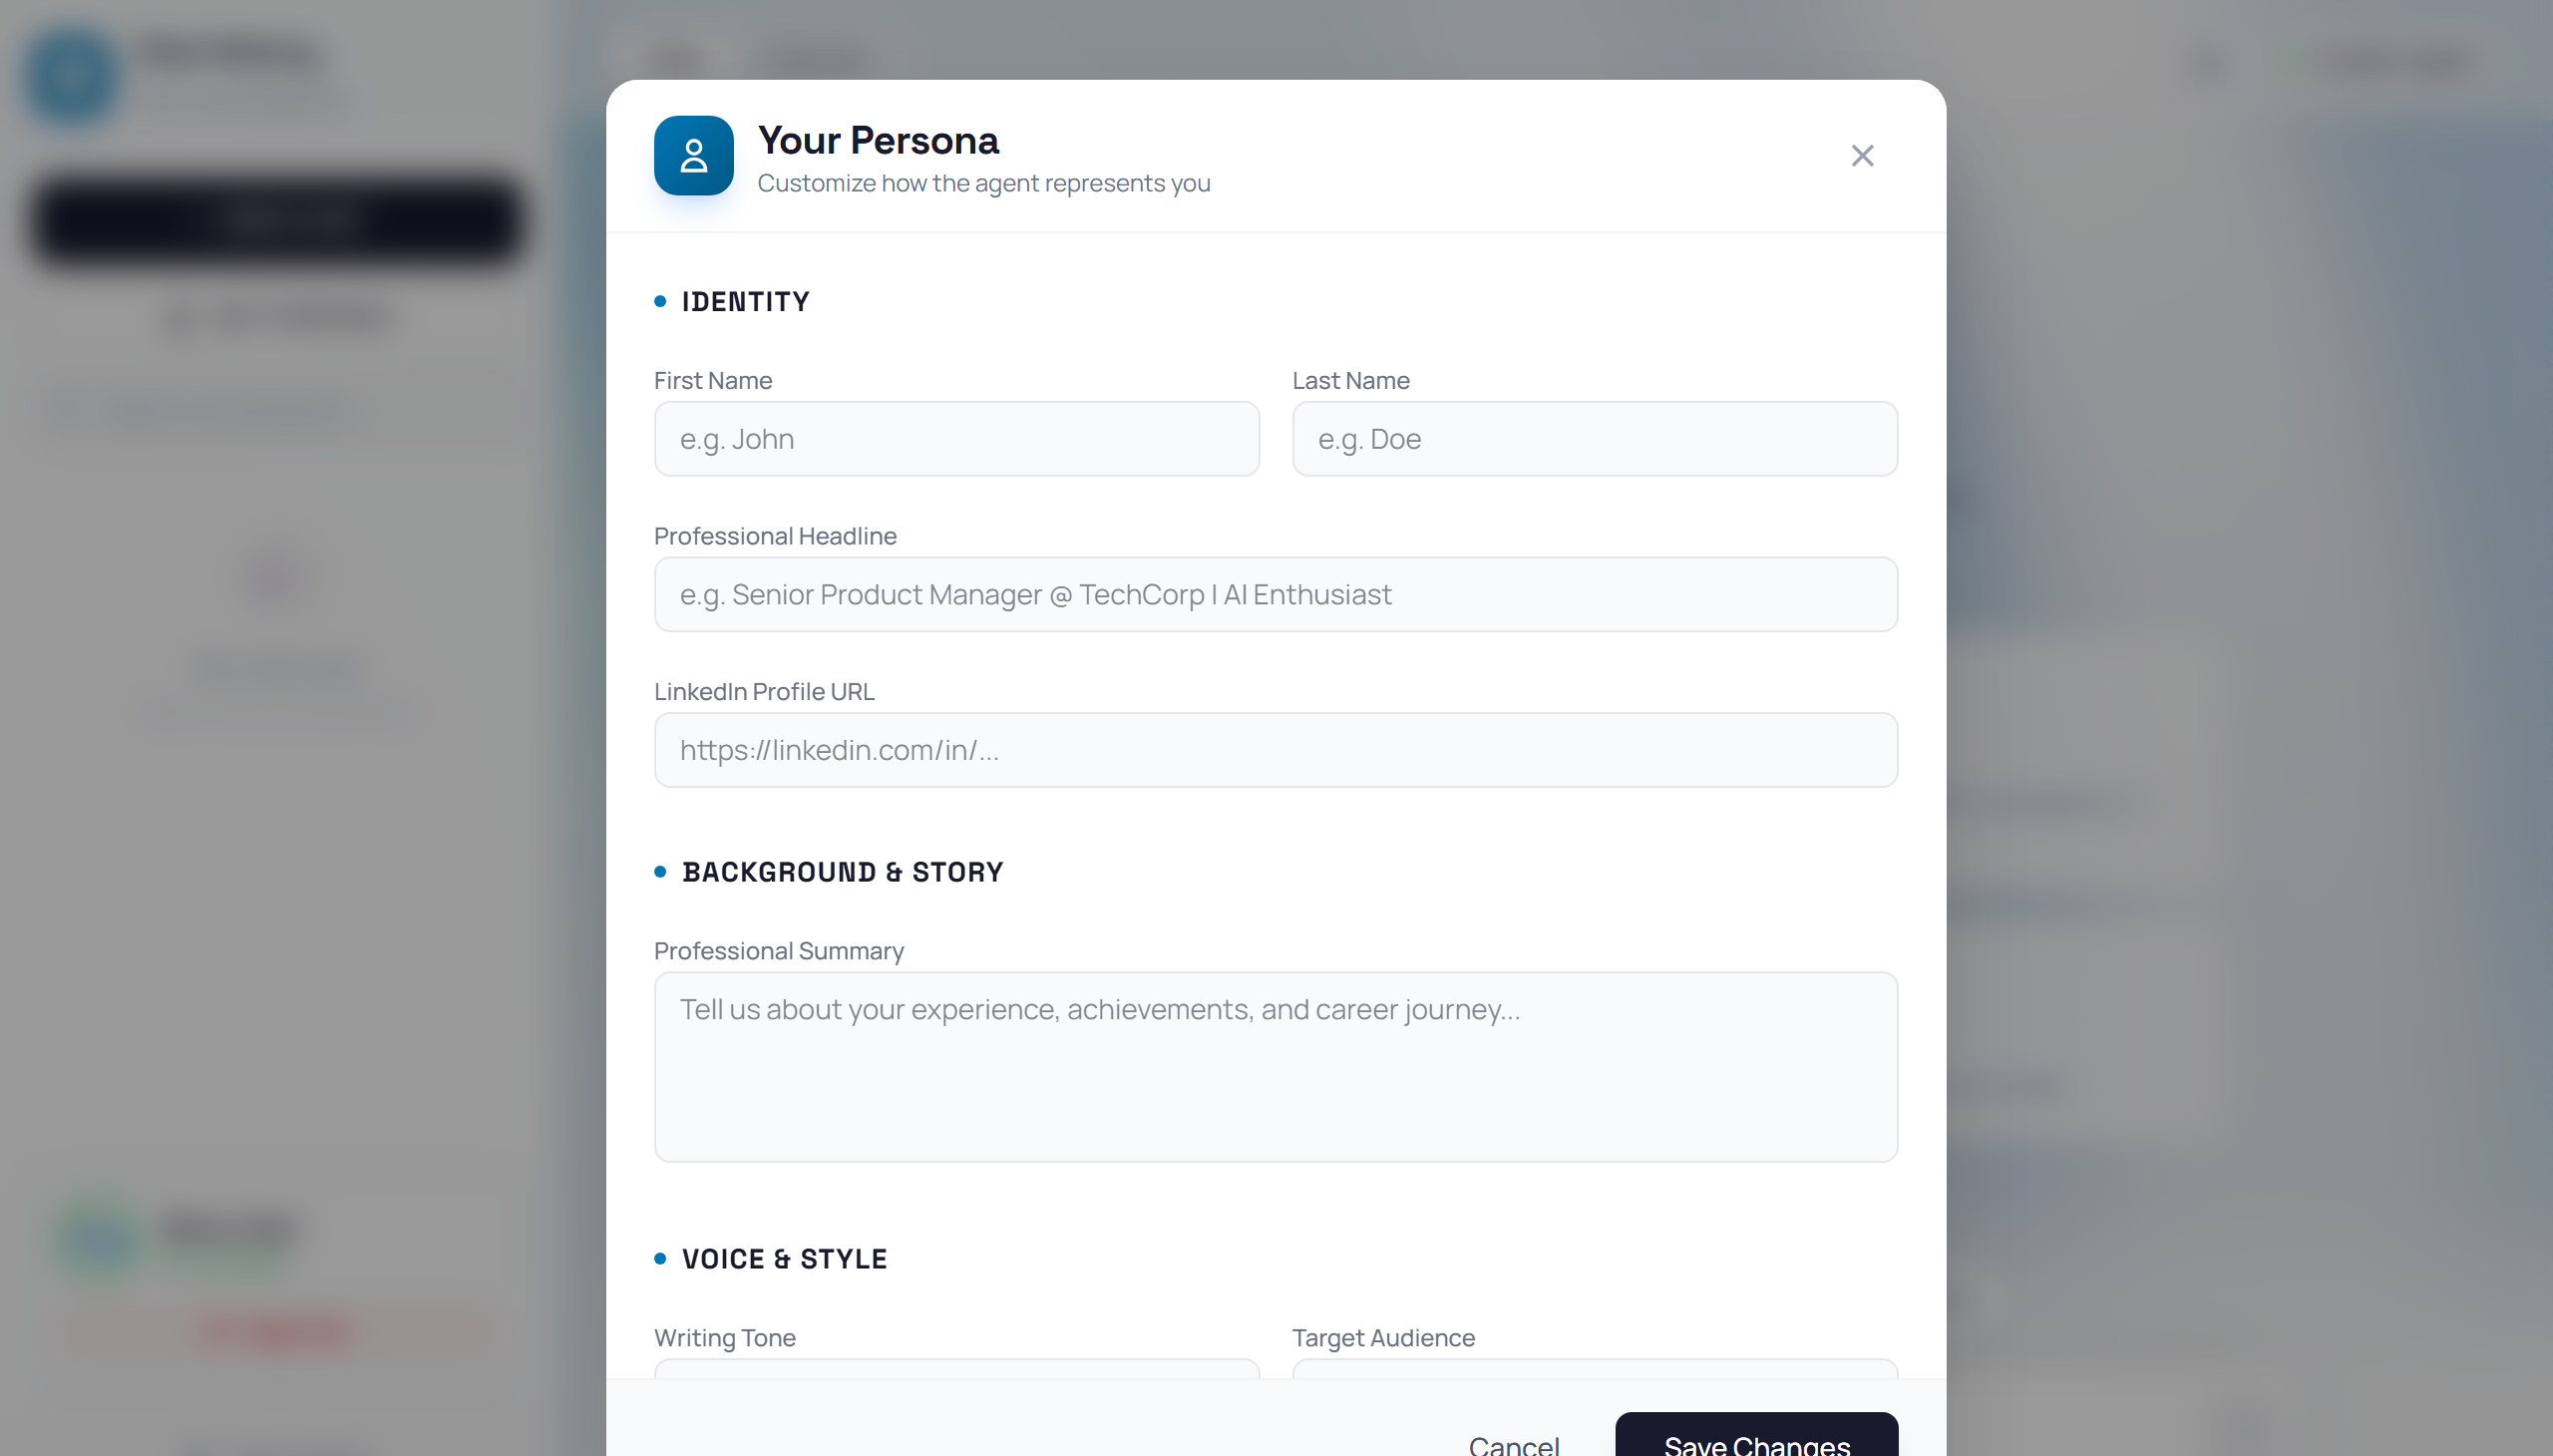
👉 In the left sidebar, click the "Edit Persona" button below the blue "+ New Chat" button. A modal titled "Your Persona" appears.
Fill in the Persona form
👉 The "Your Persona" modal has three sections. Complete as many fields as possible for better post quality: (1) Identity — First Name, Last Name, Professional Headline, LinkedIn Profile URL. (2) Background & Story — a Professional Summary textarea. (3) Voice & Style — Writing Tone, Target Audience, and a Sample Content textarea where you paste 3–5 of your best LinkedIn posts.
Save your Persona
👉 Scroll to the bottom of the modal and click the "Save Changes" button. The modal closes and Yeti now knows how to write in your voice.
Start your first chat
👉 Back in the main chat area you will see prompt cards such as "Post something now" and others. Click any card to send that prompt, or type your own message in the "Ask me anything..." input bar at the bottom.