Manage Content & Calendar
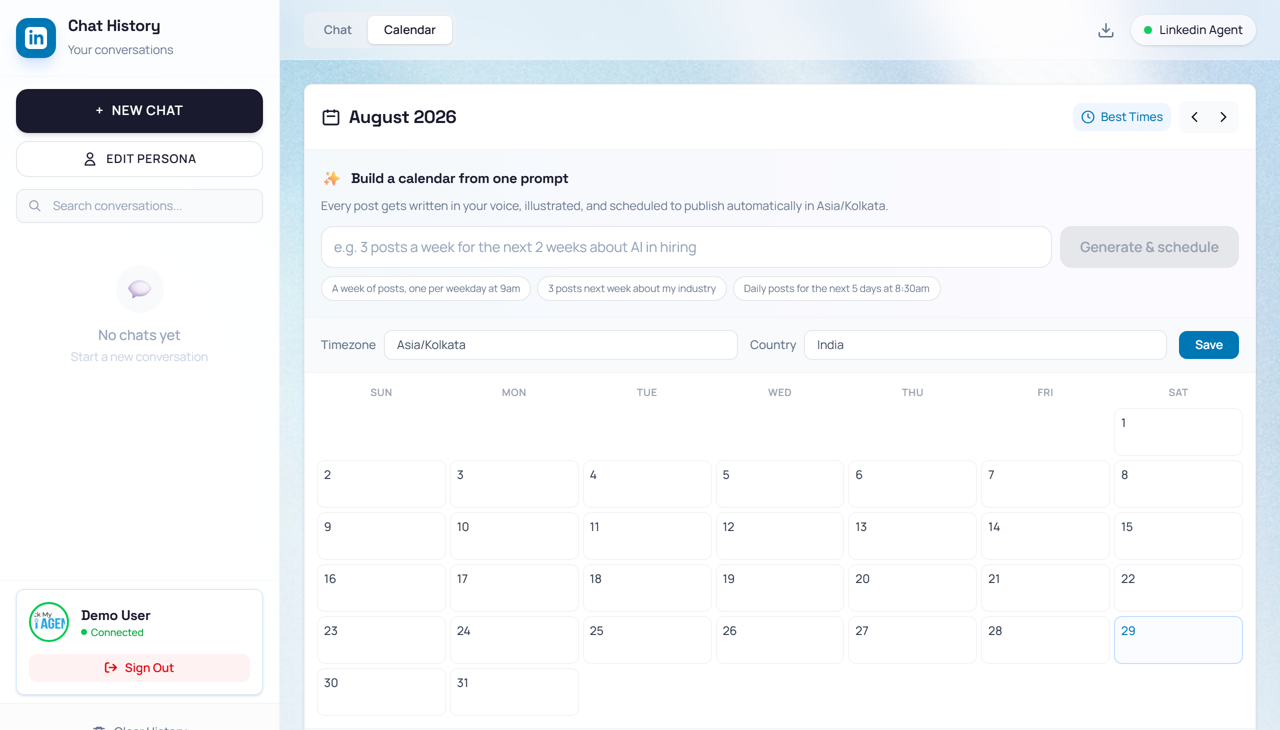
Inside the Yeti studio, switch to the Calendar tab to see all your scheduled and published posts in a monthly grid view. You can generate a full calendar with AI, review scheduled posts, and manage them.
Open the LinkedIn Agent
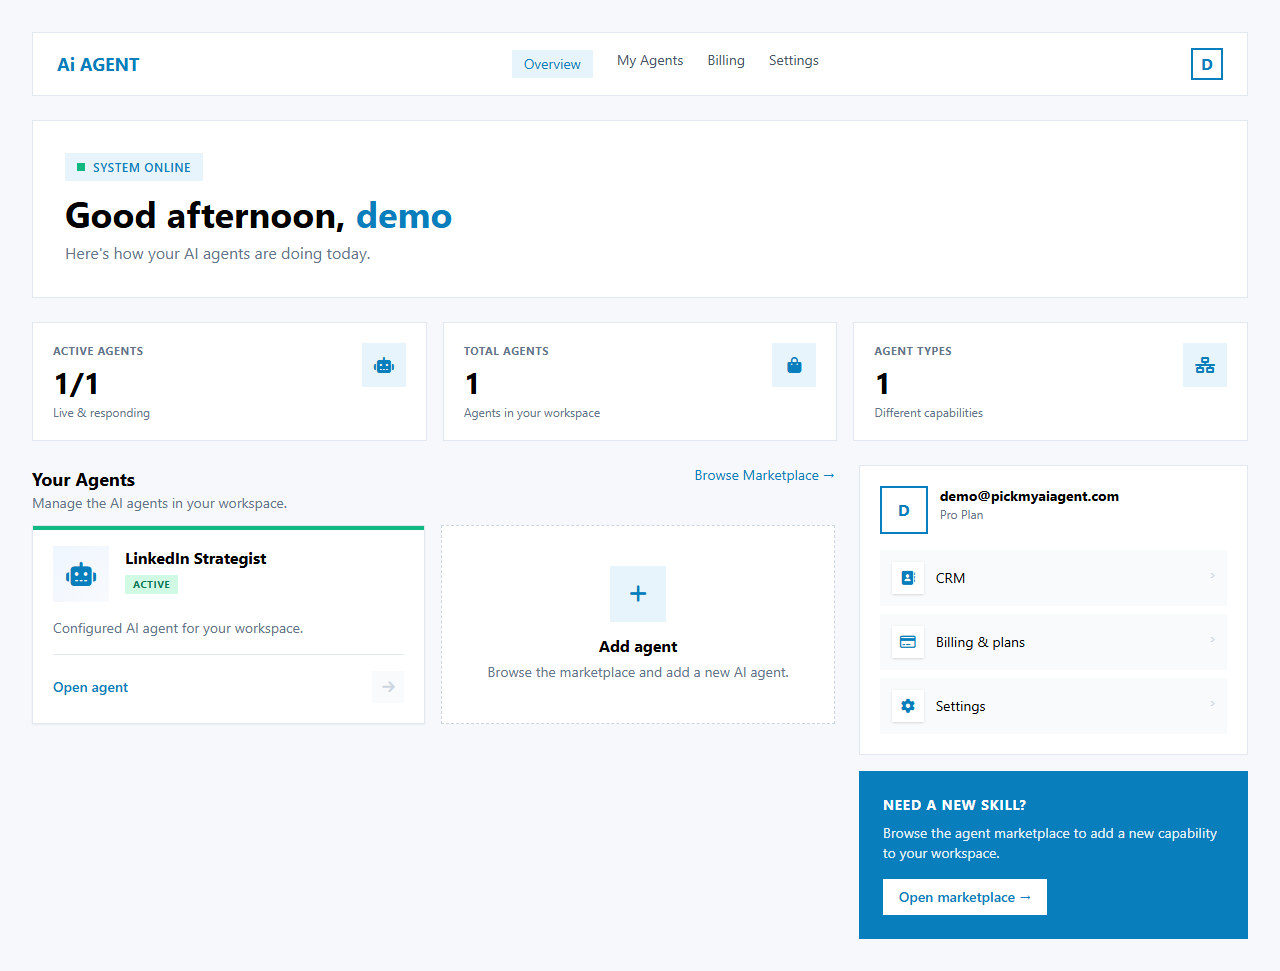
👉 From your Dashboard, go to Your Agents and click Open agent on the LinkedIn Strategist card. This opens the LinkedIn Agent workspace.
Switch to the Calendar Tab
👉 At the top of the LinkedIn Agent, click the Calendar tab in the Chat | Calendar switcher. The view changes from chat to the monthly calendar.

View the Content Calendar
👉 The Calendar shows the month heading (e.g., August 2026), the 7-day grid, and any scheduled or published posts. Each date cell shows its posts.
Generate a Content Calendar
👉 In the Build a calendar from one prompt section, enter your idea — e.g., “3 posts per week about AI” — then click Generate & schedule. Yeti creates posts and adds them to the calendar automatically.

Review Scheduled Content
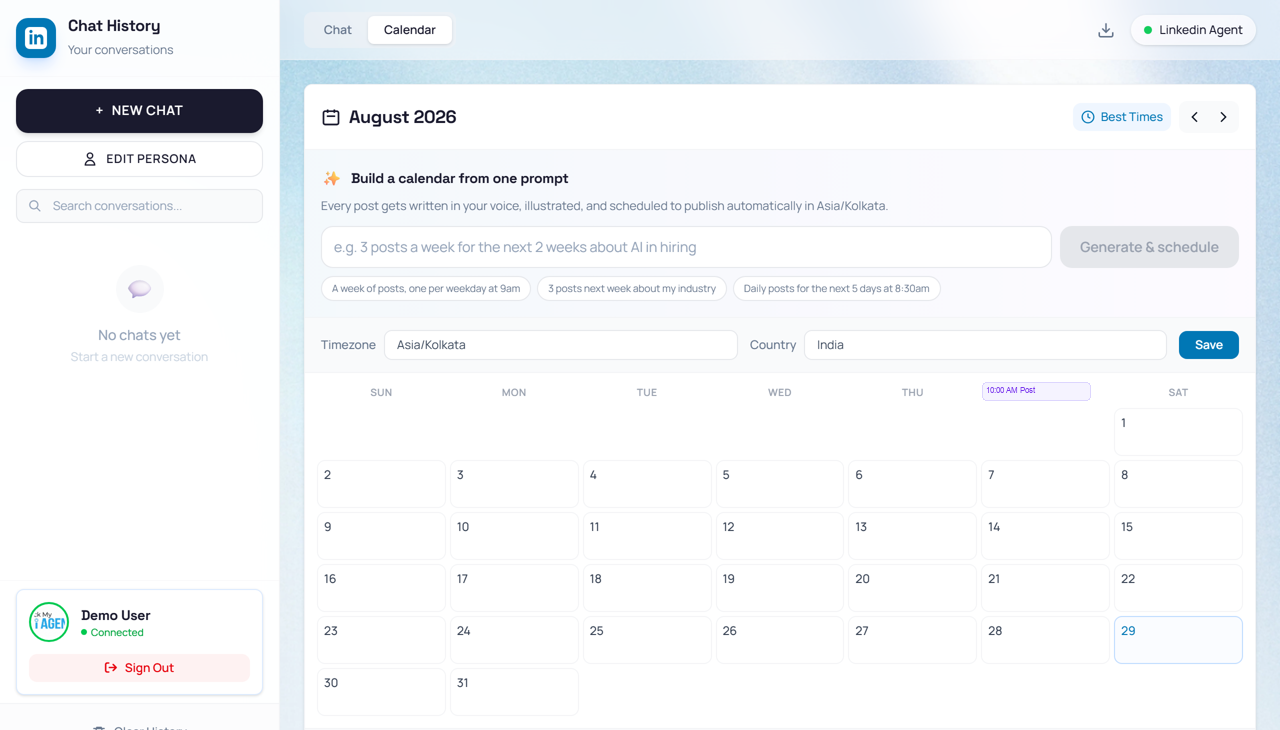
👉 After generation, the calendar shows scheduled posts as colored chips on their dates (e.g., 10:00 AM Post). Click a chip to review the content.
Manage Content
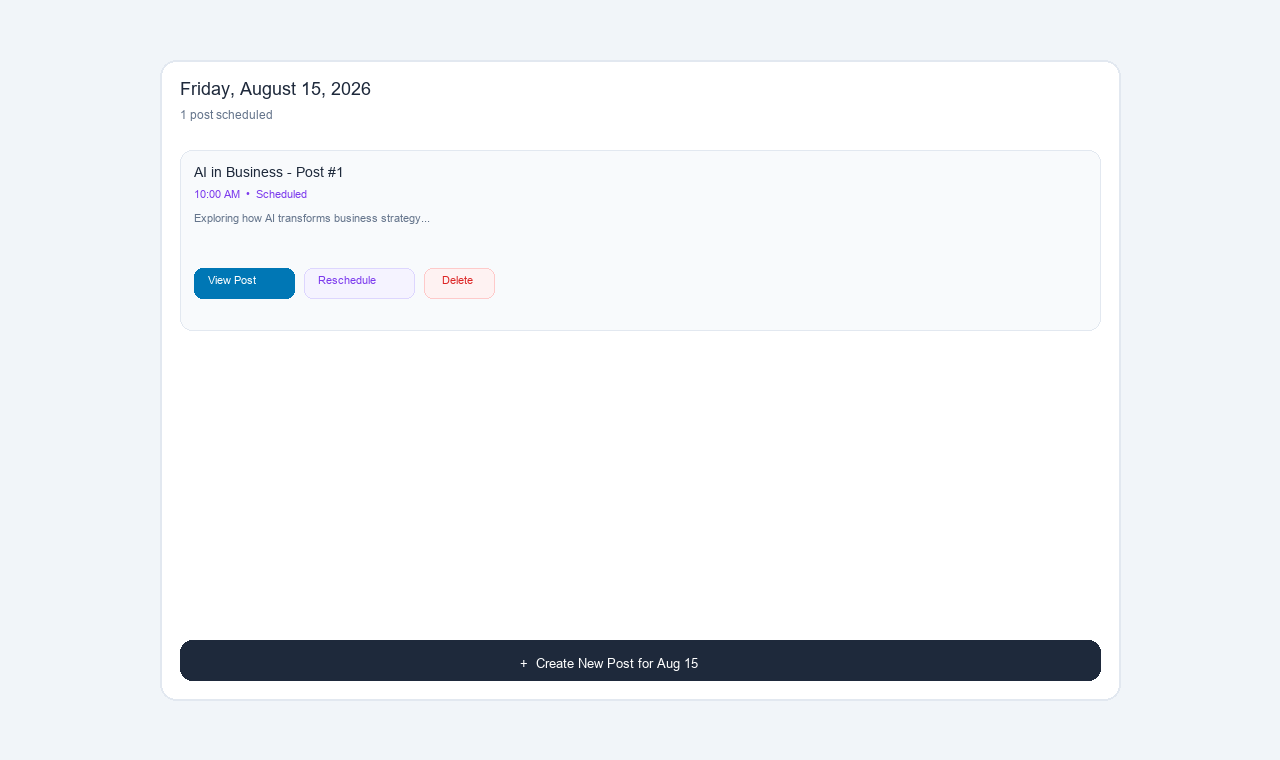
👉 In the post detail view you can View Post to see the full draft, Reschedule to pick a new date/time, or Delete to permanently remove it. Only these actions exist — no invented buttons.