Create & Publish Content
Follow the real workflow of the LinkedIn AI Agent — from opening the agent to publishing or scheduling your post. Each step shows the exact screen and button to use.
Open the LinkedIn Agent
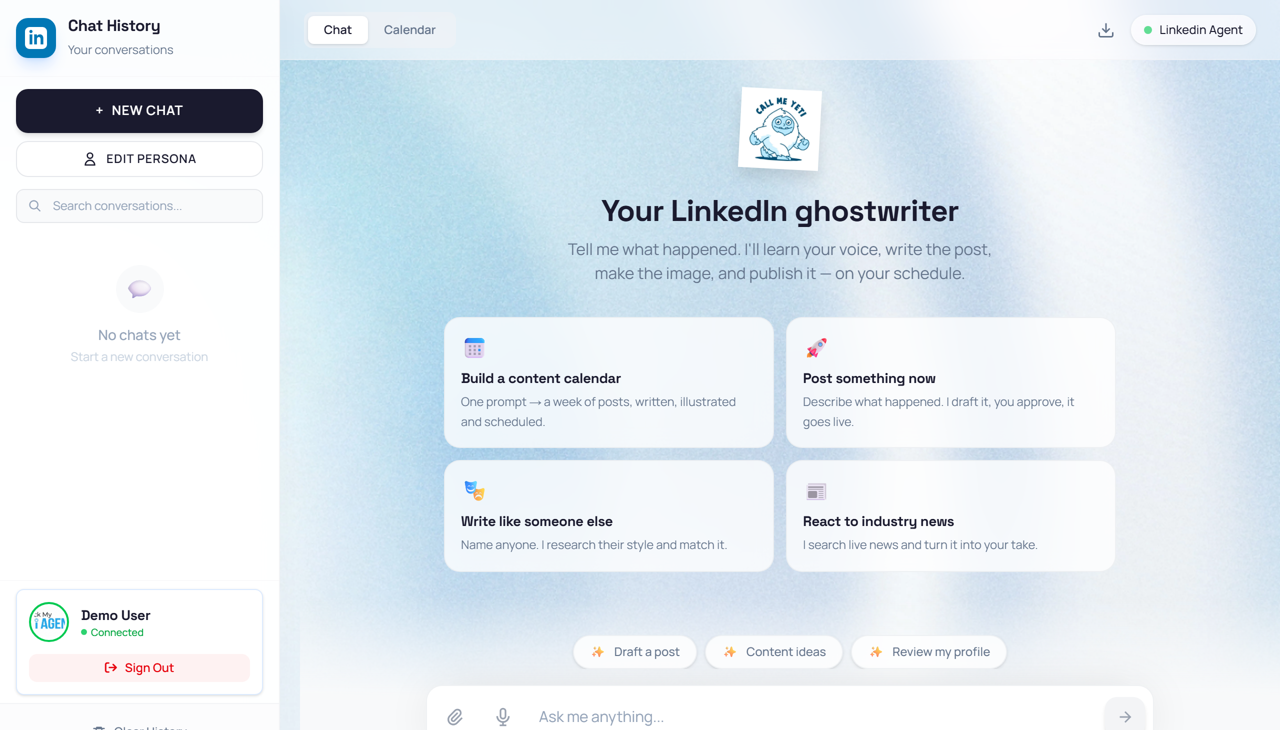
👉 From your Dashboard click Open agent on the LinkedIn Strategist card, or open My Agents → LinkedIn Agent → Launch. The LinkedIn Agent opens with the Chat tab active, the + NEW CHAT button in the left sidebar, and the main chat workspace in the center.
Start a New Chat
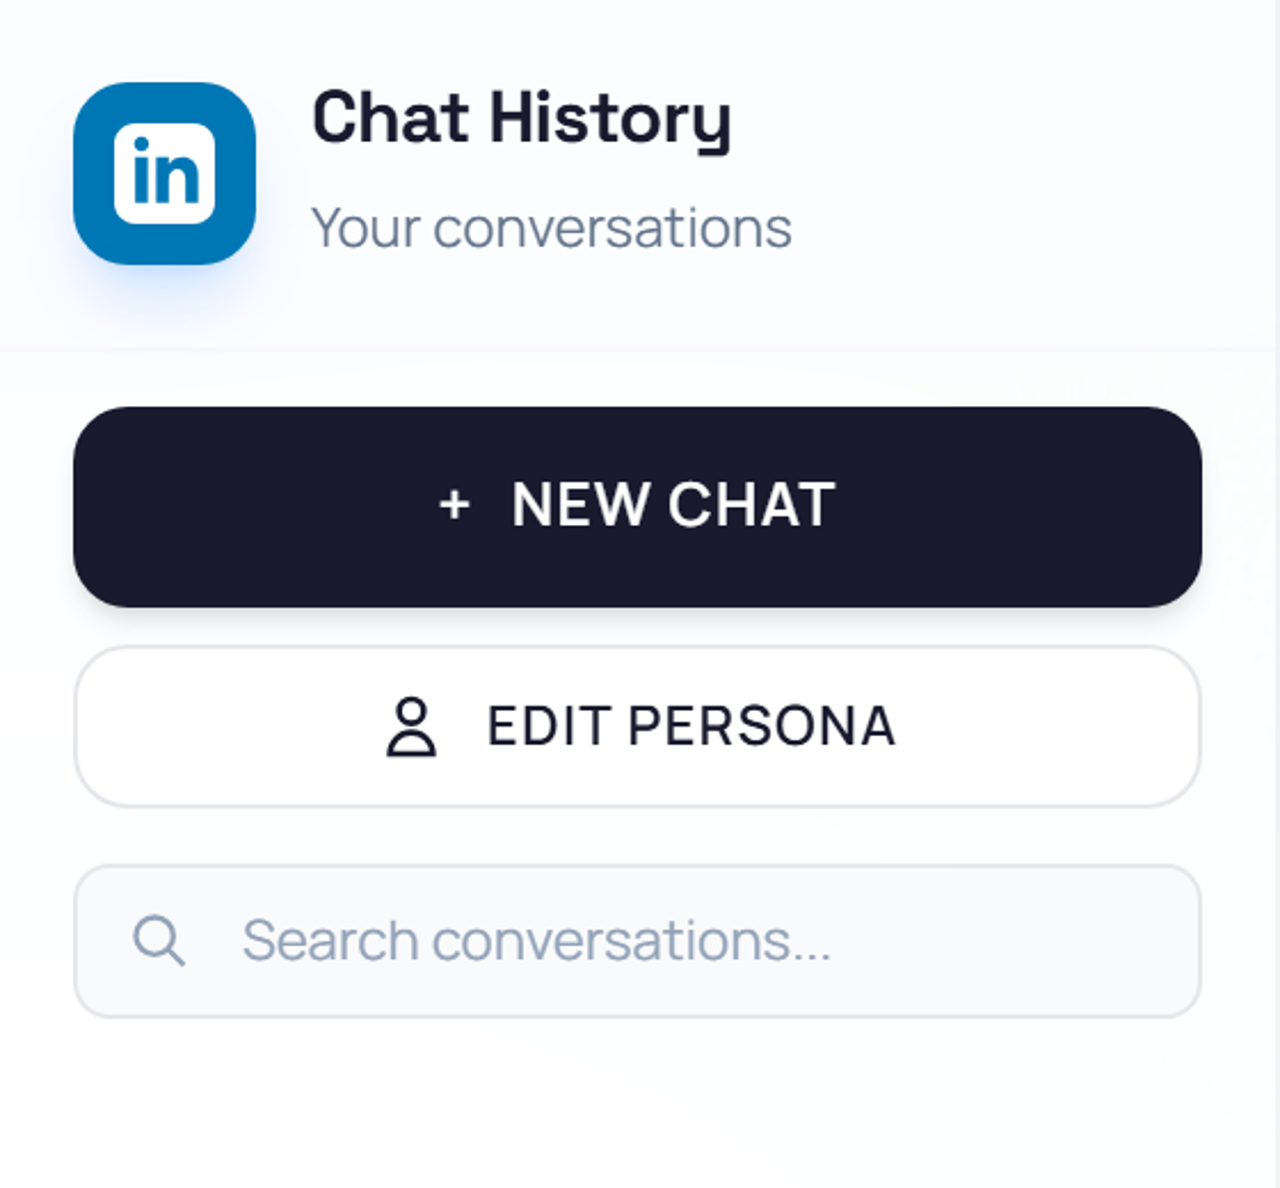
👉 In the left sidebar, click the + NEW CHAT button. This creates a fresh conversation and clears the workspace for your new request.
Give Your Instruction
👉 Click the chat input at the bottom labeled Ask me anything... and describe what you want. Example: “Create a LinkedIn post about AI in business.” Press Enter to send.

Choose or Generate Content
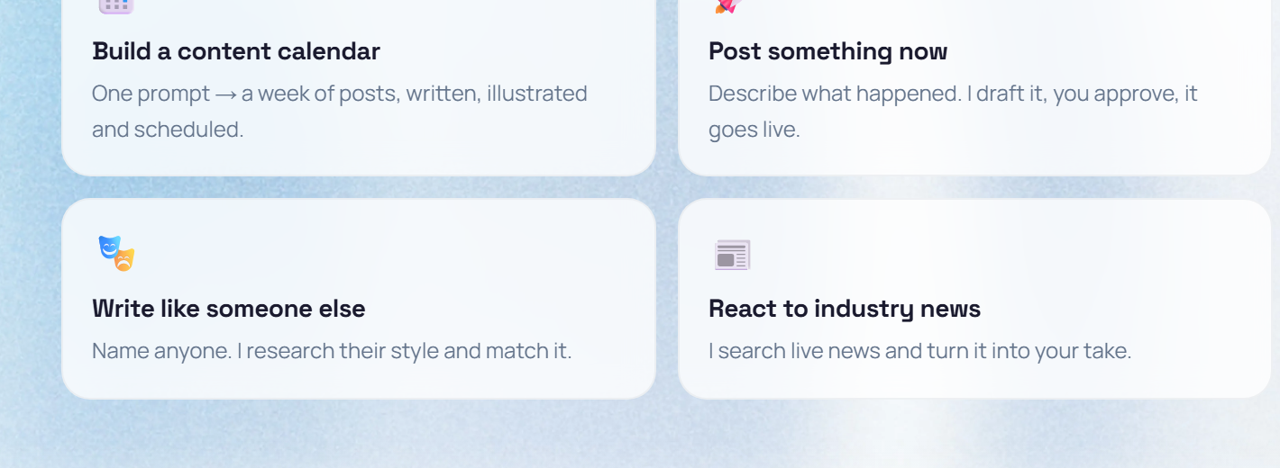
👉 You can click a suggestion card — Build a content calendar, Post something now, Write like someone else, or React to industry news — or type your own request. Each card sends a ready-made prompt to Yeti.
Review the Generated Content
👉 Yeti replies with a LinkedIn draft preview card. Review the generated text, author header, and post preview before publishing. Check the tone and message.
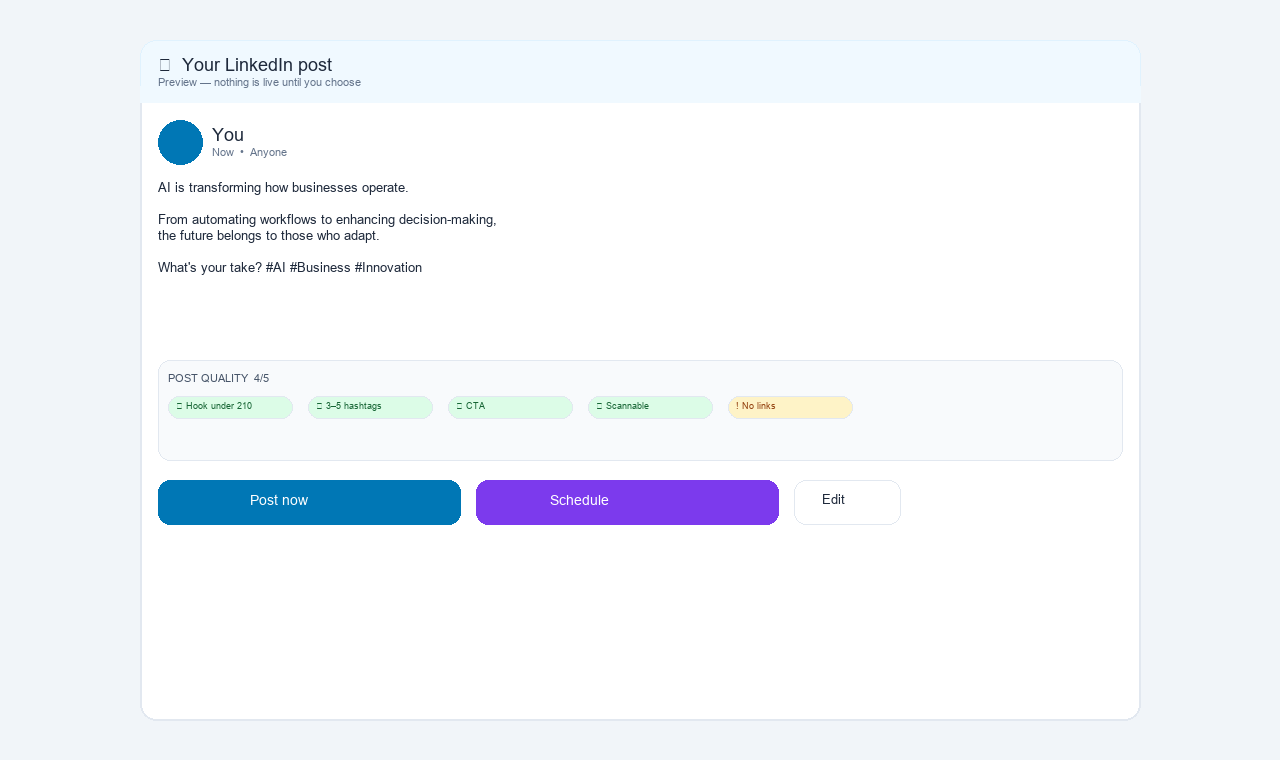
Refine or Edit the Content
👉 If you want changes, continue chatting: “Make it shorter”, “Make it more professional”, “Add a stronger hook”. Or click Edit on the draft card to directly edit the text, then click Done.
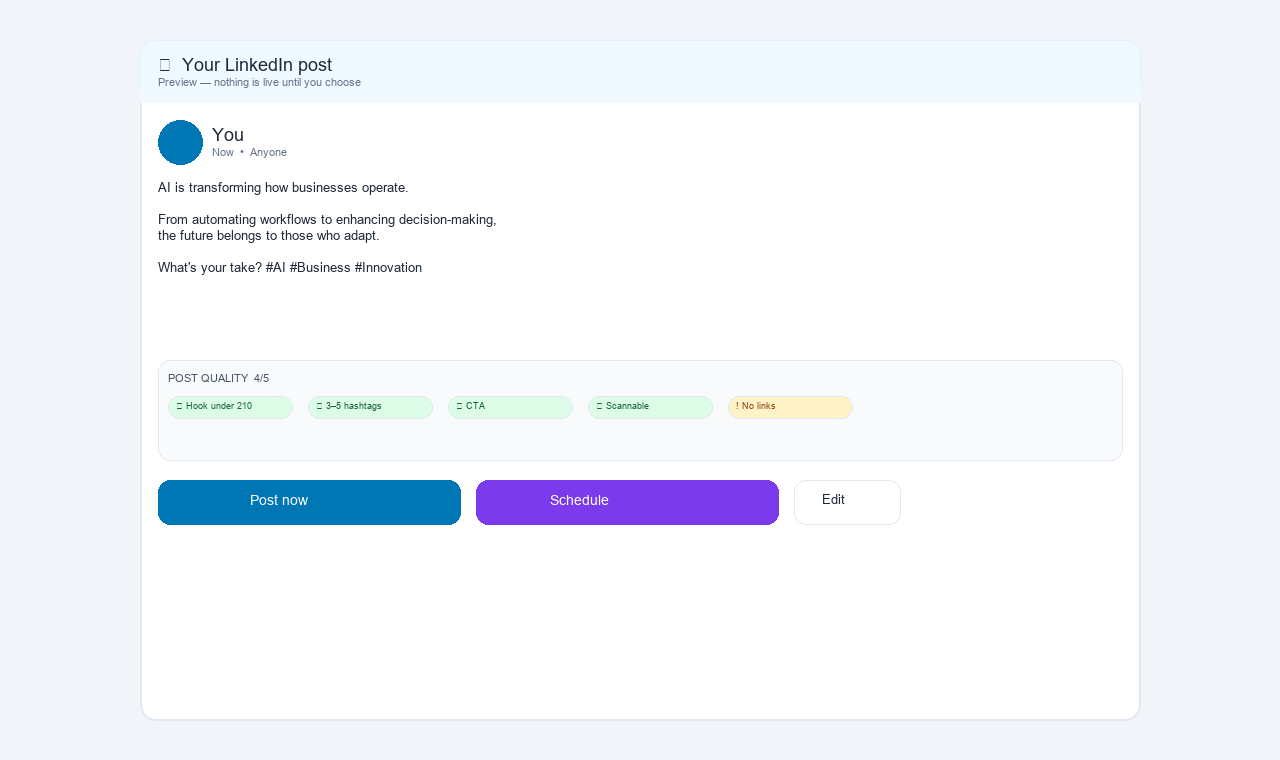
Approve the Content
👉 When the draft looks good, approve it by choosing how to publish. The draft card shows Post now and Schedule — these are the approval actions. No separate Approve button exists; publishing is the approval.
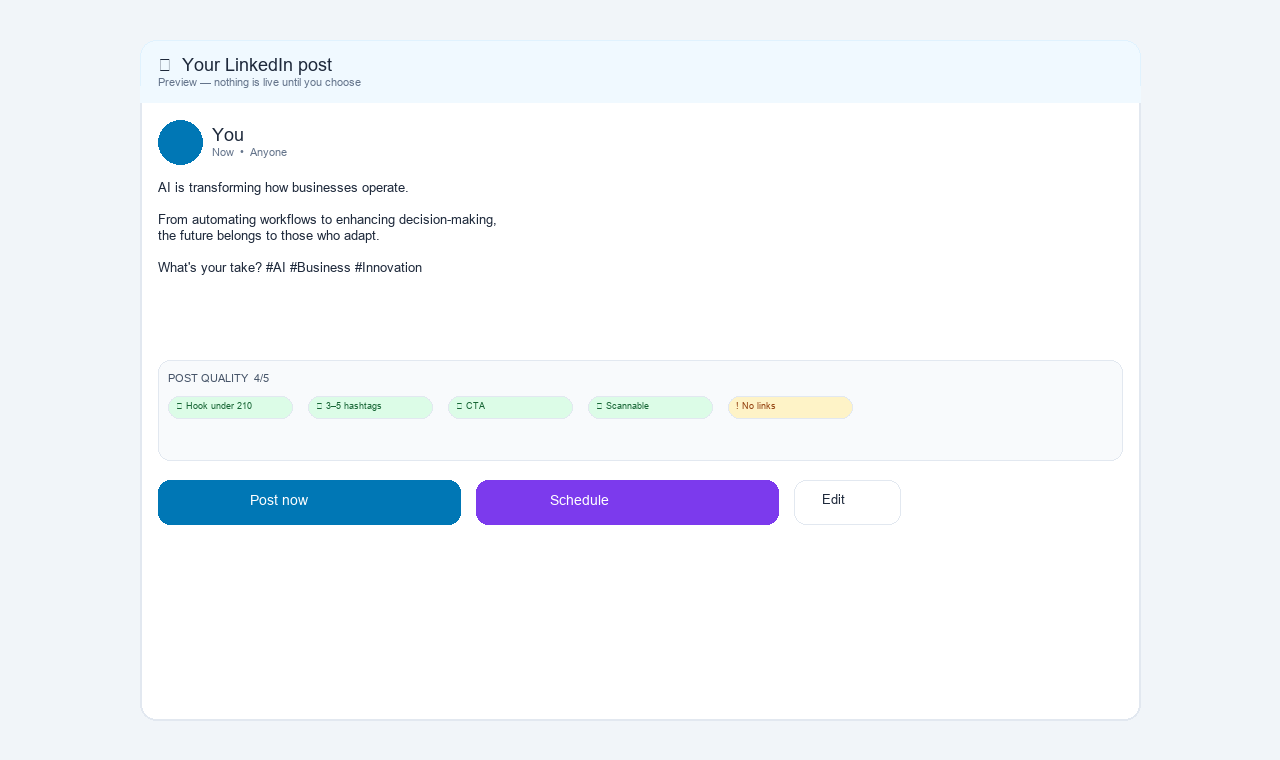
Publish or Schedule
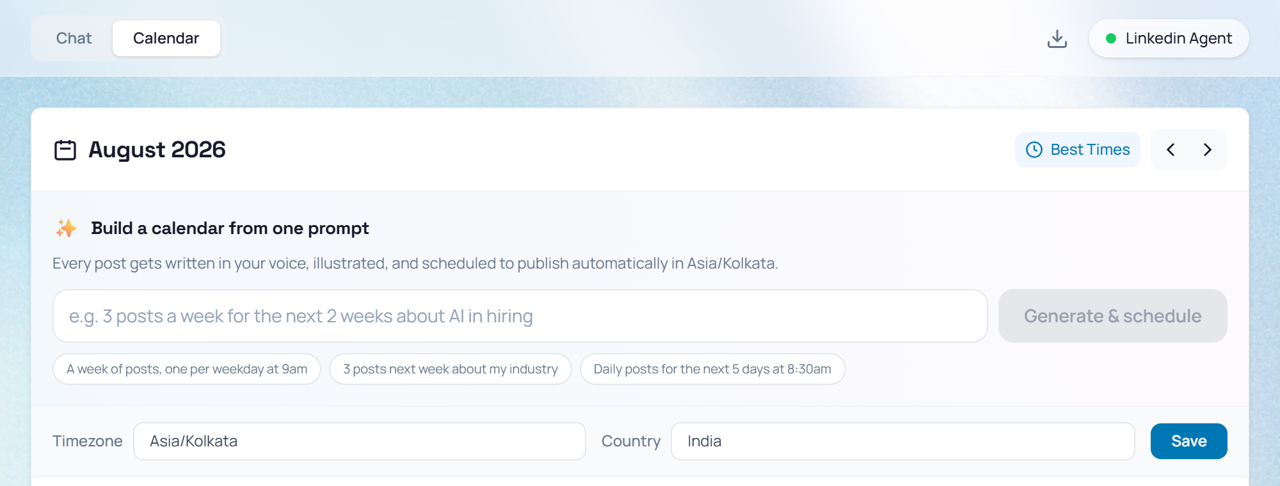
👉 Click Post now to publish immediately, or click Schedule to open the scheduling UI. If you use the Calendar tab for planning, open Calendar at the top, set your date/time, then click Generate & schedule. Your post appears in the calendar.